If you’re a homeowner, you know how important it is to maintain your deck. Not only does it increase the value of your property, but it also provides a comfortable outdoor space for your family and friends to enjoy. One of the best ways to keep your deck looking its best is by pressure washing it regularly. In this step-by-step guide, we’ll show you exactly how to do it.
Pressure washing your deck is an essential step in maintaining its appearance and prolonging its lifespan. Over time, dirt, grime, and other debris can accumulate on your deck’s surface, making it look unsightly and potentially causing damage. By using a pressure washer, you can effectively remove these unwanted materials and restore your deck’s natural beauty. This step-by-step guide provides you with all the information you need to properly pressure wash your deck, from gathering the necessary materials to setting up your pressure washer and safely cleaning your deck. By following these instructions, you can be sure that your deck will look its best and remain in excellent condition for years to come.
Before you begin pressure washing your deck, it’s important to gather all the necessary tools and materials. Here’s what you’ll need:
- A pressure washer
- Safety glasses
- Deck cleaner
- A broom or brush
- A garden hose
- Protective clothing (long-sleeved shirt, pants, and closed-toe shoes)
- Plastic sheeting or tarps to cover nearby plants or objects
Step 1: Prepare Your Deck
The first step in pressure washing your deck is to prepare it for the cleaning process. This means removing any furniture, plants, or other objects that are on the deck. You should also cover nearby plants or objects with plastic sheeting or tarps to protect them from the high-pressure spray.
Step 2: Sweep Your Deck
Once your deck is clear of all objects, sweep it thoroughly with a broom or brush. This will remove any loose debris, such as leaves or twigs, that could interfere with the pressure washing process.
Step 3: Apply Deck Cleaner
After you’ve swept your deck, it’s time to apply the deck cleaner. Be sure to read the manufacturer’s instructions before applying the cleaner to ensure that you use the correct amount. Once you’ve applied the cleaner, let it sit for the recommended amount of time before moving on to the next step.
Step 4: Set Up Your Pressure Washer
While you’re waiting for the deck cleaner to work its magic, it’s time to set up your pressure washer. First, fill the pressure washer’s tank with water. Next, attach the appropriate nozzle to the wand. For most decks, a 25-degree nozzle will work best.
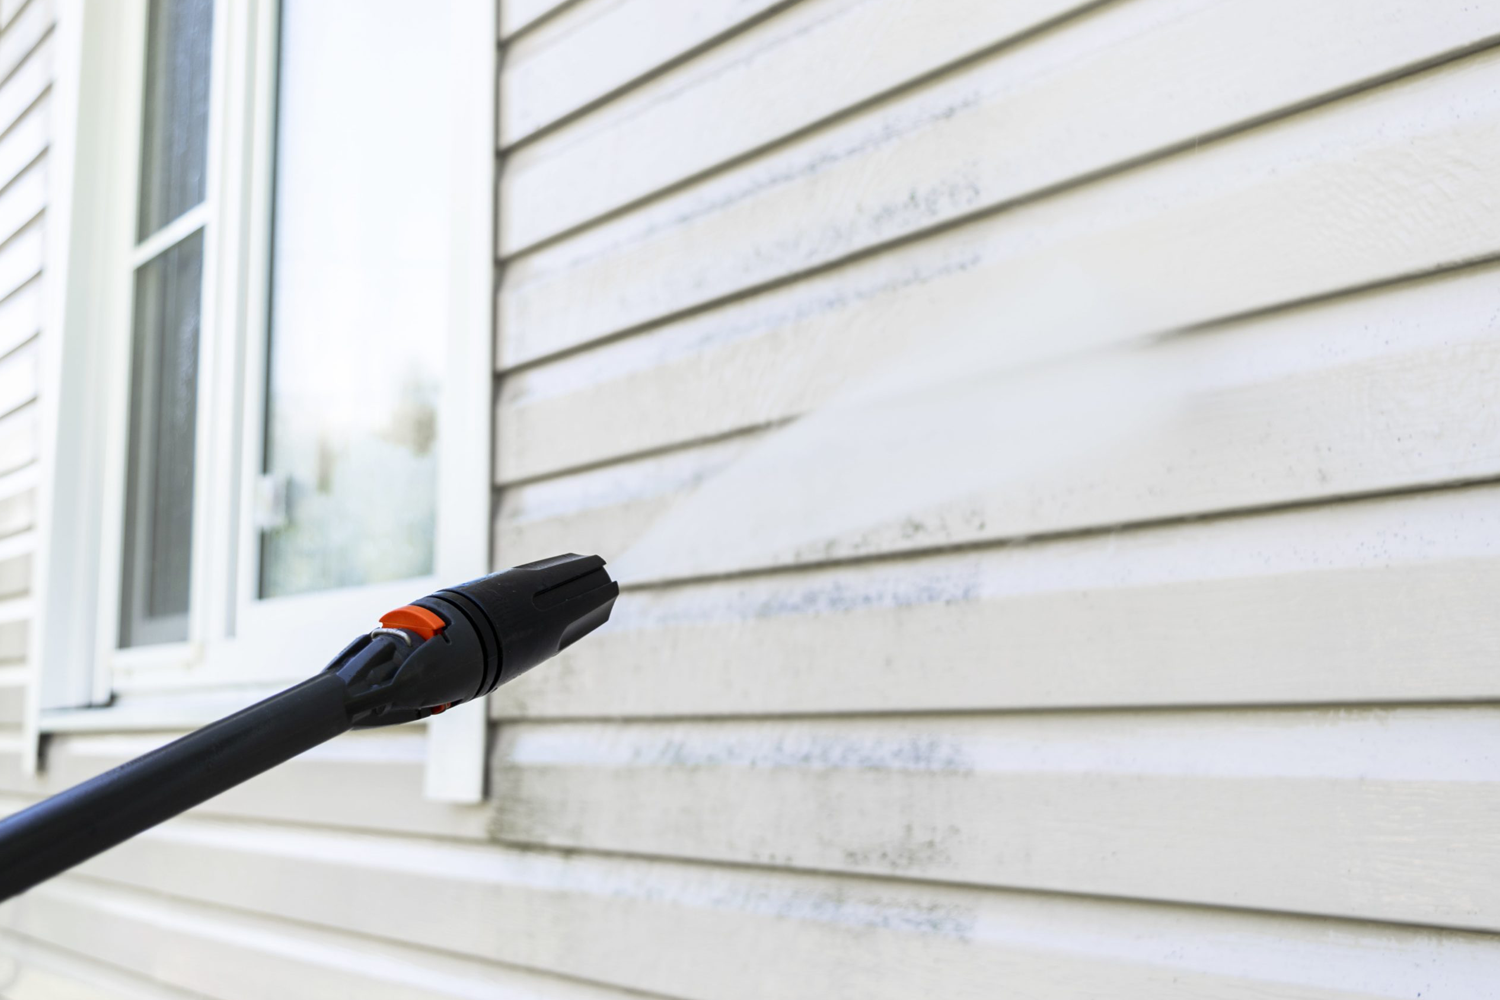
Step 5: Start Pressure Washing
Now that your pressure washer is set up, it’s time to start cleaning your deck. Begin by spraying the deck with the pressure washer using a sweeping motion. Keep the wand about 6 to 8 inches away from the deck and move it in the direction of the grain of the wood. Be sure to use even pressure to avoid leaving marks on the deck.
Step 6: Rinse Your Deck
Once you’ve finished pressure washing your deck, it’s time to rinse it off with a garden hose. Be sure to rinse thoroughly to remove any remaining debris or cleaner.
Step 7: Allow Your Deck to Dry
After you’ve rinsed your deck, allow it to dry completely before replacing any furniture or objects. This will prevent water damage to your deck and ensure that it looks its best.
Conclusion
Pressure washing your deck is an important part of deck maintenance. By following these step-by-step instructions, you can ensure that your deck stays looking its best for years to come. Remember to always wear protective clothing and follow the manufacturer’s instructions when using a pressure washer. Happy cleaning!